Introduction to Two-Color Room Painting
When it comes to painting a room, color can make all the difference. And if you’re feeling a bit adventurous, why not go for two colors instead of one? But painting a room with two colors is more than just slapping two different paints on the walls. It’s about balance, proportion, and creating a harmonious palette that can transform your space. In this guide, we’re going to lay down the ‘5 rules of painting a room with two colors’ to help you create a room that’s as unique as you are.
The Power of Color in Room Design
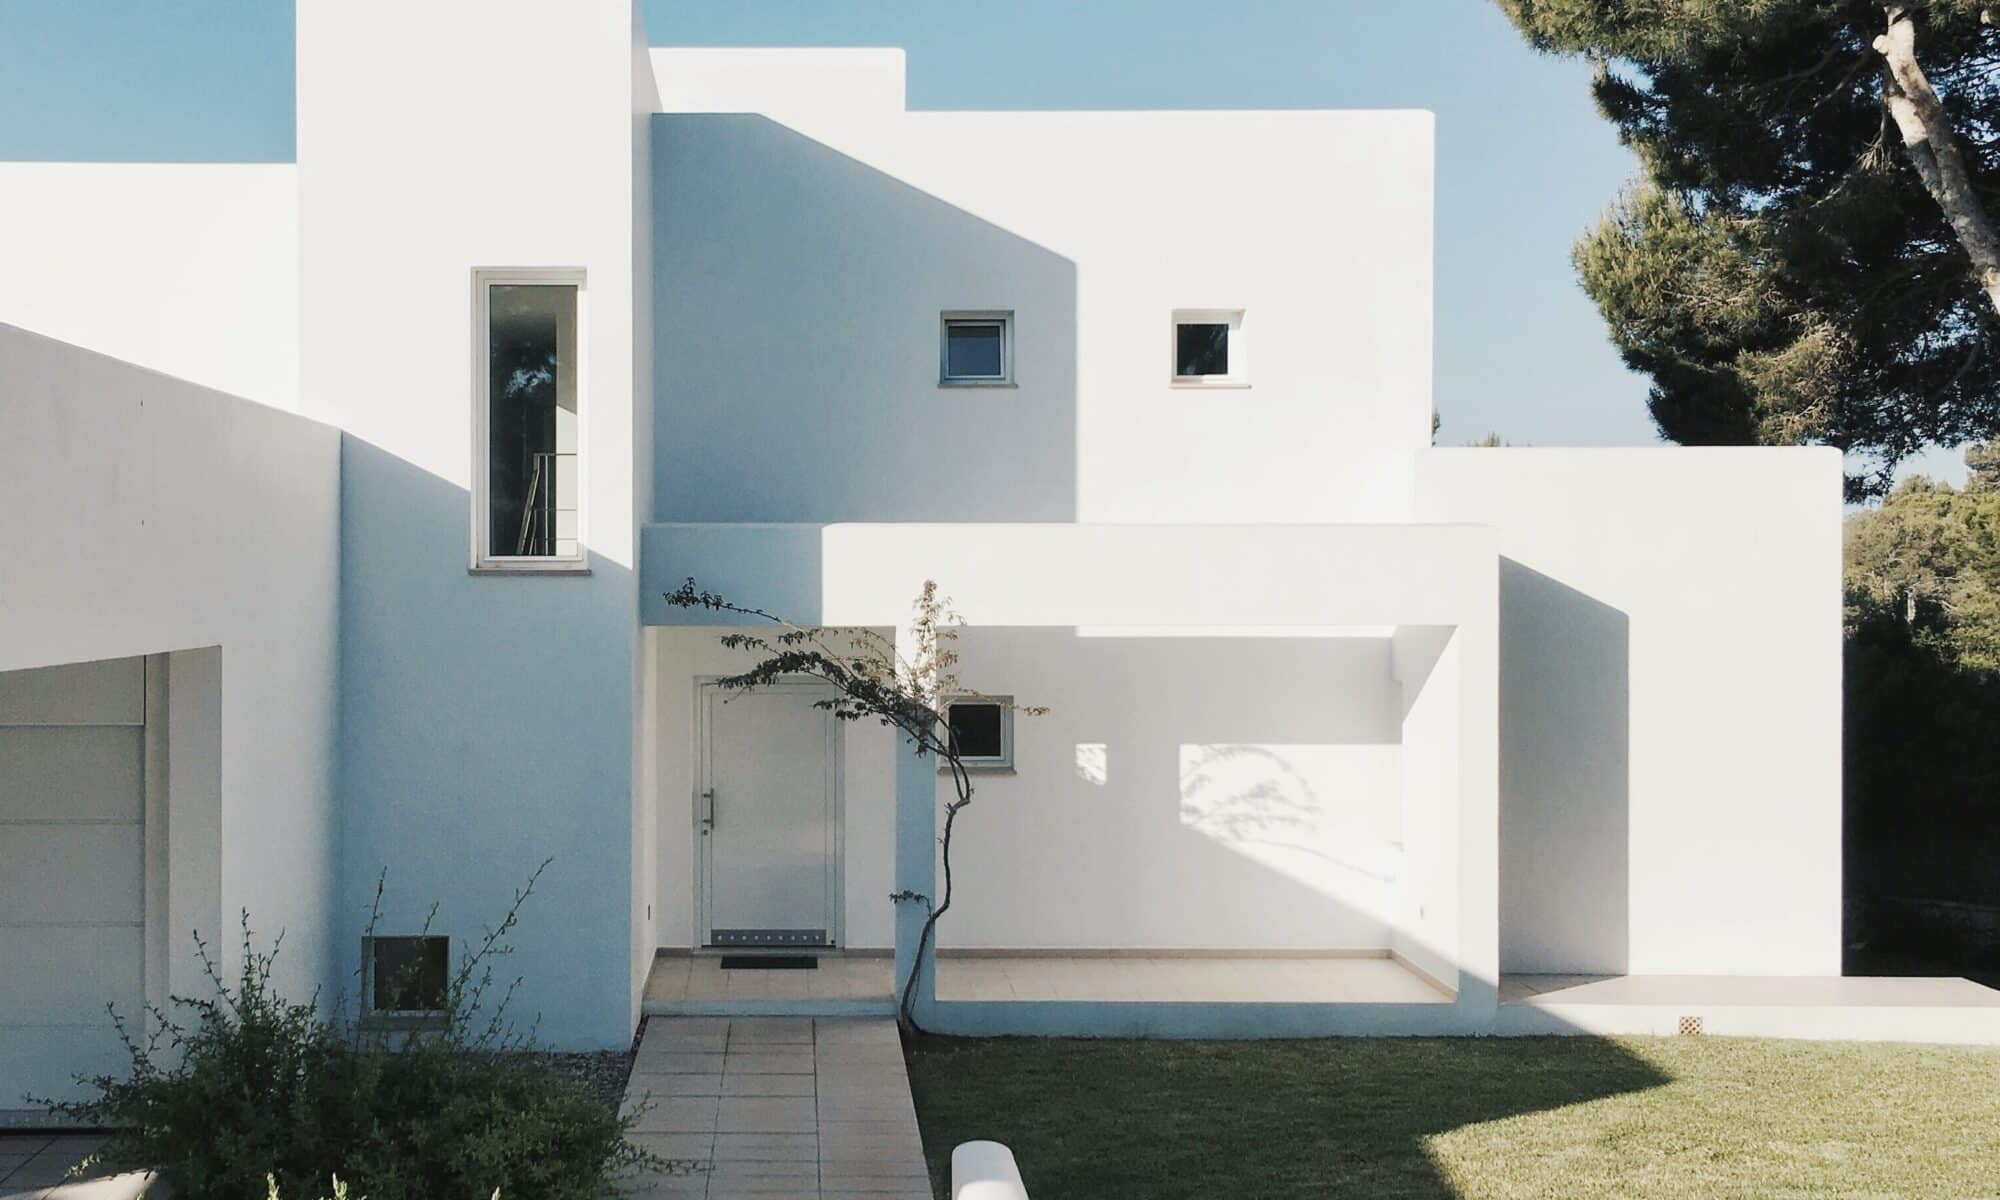
Ever walked into a room and instantly felt a certain way? Maybe calm, excited, or even nostalgic? That’s the power of color. Colors can influence our emotions, create illusions of space, and even affect our well-being. For instance, lighter colors can make a room feel larger and brighter, while darker hues can create a cozy, intimate atmosphere.
But with great power comes great responsibility. When you’re choosing colors for your interior painting project, you need to consider the mood and function of the room, the amount of natural light, and even the architecture of your home. And when it comes to two-color painting, the stakes are even higher. You’re not just working with one color – you’re balancing two, and that requires a bit more finesse.
The Art and Science of Two-Color Painting
Painting a room with two colors is both an art and a science. It’s an art because it requires a sense of aesthetics, a feel for color harmony, and an understanding of how colors can work together to create a visually pleasing space. But it’s also a science because there are certain rules and principles that can guide you towards a successful two-color paint job.
And that’s what we’re here for! We’re going to dive into the 5 crucial rules for painting a room with two colors. We’ll talk about choosing your colors wisely, determining your color proportions, deciding on your paint patterns, prepping your room for painting, and applying your paint with care. So, whether you’re a DIY enthusiast or you’re planning to hire a professional house painter contractor, stick with us. We’ve got some color wisdom to share!
Rule #1: Choose Your Colors Wisely
When it comes to creating a stunning two-color room, the first rule is to choose your colors wisely. But how do you decide between an endless array of hues and shades? Let’s break it down.
Understanding Color Theory
Color theory is a crucial starting point when selecting your colors. It’s all about how colors interact with each other and how they can influence our moods and perceptions. For instance, colors that are opposite each other on the color wheel, known as complementary colors, can create a vibrant and high-contrast look. On the other hand, analogous colors, or those that are next to each other on the color wheel, create a more harmonious and calming effect.
For a deeper dive into color theory and how it applies to your painting project, check out our guide on color choices for your interior painting project.
Considering Room Size, Light, and Function
The size of the room, the amount of natural light it gets, and its function should also influence your color choices. Light colors can make a small room feel larger and brighter, while dark colors can add depth and coziness to a large space.
For rooms that get a lot of sunlight, cool colors can help balance the brightness. In contrast, warm colors can add a sense of warmth to a room with little natural light.
The function of the room is another important factor. For example, you might choose calming colors for a bedroom or vibrant hues for a playroom. When you’re planning to paint a room with two colors, it’s essential to consider how these colors will work together in the space and how they’ll impact the overall mood and feel of the room.
Remember, selecting the right colors is a critical step in the painting process. It sets the stage for everything else and can ultimately determine the success of your two-color room painting project. So take your time, do your research, and don’t be afraid to ask for advice from professionals like us, your trusted house painter contractor. After all, we’re here to help bring your vision to life!
Rule #2: Determine Your Color Proportions
Once you’ve chosen your two colors, it’s time to decide how to distribute them in your room. The proportion of color you use can make a big difference in the overall look and feel of the space.
The 60-30-10 Rule
A well-known rule of thumb in interior design is the 60-30-10 rule. This rule suggests that you should use your dominant color for 60% of the room, a secondary color for 30%, and an accent color for the remaining 10% of the space.
For a two-color scheme, you can adapt this rule to suit your needs. You could use your dominant color for 60% of the room, and your secondary color for the remaining 40%. Or, you could split it more evenly, with each color taking up 50% of the room. The choice is yours!
| Color | Proportion |
|---|---|
| Dominant Color | 60% |
| Secondary Color | 40% |
Remember, these are just guidelines, not hard and fast rules. Feel free to play around with the proportions to find a balance that works best for your room. For more insight on color distribution, check out our post on color choices for your interior painting project.
Balancing Light and Dark Colors
If you’re working with a mix of light and dark colors, it’s important to consider how they’ll balance each other out. Typically, it’s a good idea to use the lighter color for a larger portion of the room. This helps keep the room feeling spacious and open. The darker color can then be used as an accent to add depth and interest.
| Color | Proportion |
|---|---|
| Lighter Color | 60% |
| Darker Color | 40% |
Again, these proportions can be adjusted to suit your personal preferences and the specific characteristics of your room. For example, if your room has a lot of natural light, you might be able to get away with using more of the darker color. Check out our guide on interior painting & design: do’s and don’ts for small rooms for more tips on balancing colors in smaller spaces.
By carefully considering your color proportions, you can create a two-color scheme that’s balanced, harmonious, and perfectly suited to your room. So go forth, paint with panache, and watch as your space is transformed!
Rule #3: Decide on Your Paint Patterns
Alright, now that we’ve got our colors picked out, let’s talk patterns. The pattern you choose for your two-color room can drastically change the overall feel of the space. There are a few popular options you can consider: vertical stripes, horizontal stripes, or accent walls.
Vertical Stripes
Vertical stripes can help to visually heighten a room, making it appear taller than it actually is. This can be particularly beneficial in rooms with low ceilings.
When painting vertical stripes, you’ll want to alternate between your two chosen colors. This could mean painting every other stripe with your secondary color, or you could choose to paint one wall with a bold stripe of your secondary color. Remember, the width of your stripes can also affect the overall look of your room. Narrow stripes can create a more subtle, sophisticated look, while wider stripes can make a bold statement.
Horizontal Stripes
Horizontal stripes, on the other hand, can make a room appear wider. This can be especially helpful if you’re working with a narrow space.
Horizontal stripes require a bit more planning than vertical stripes, as you’ll need to measure and mark out your stripes before you start painting. The same rules apply here as with vertical stripes – alternating colors and playing with stripe width can change the overall look and feel of your room.
Accent Walls
If stripes aren’t your thing, consider painting an accent wall. This involves painting one wall in your room a different color than the other walls. This can be a great way to highlight a particular feature in your room, like a fireplace or a large window.
When painting an accent wall, we usually recommend using your secondary color. This gives you the freedom to choose a brighter or darker color without overwhelming the space.
Deciding on a paint pattern is a crucial step in the two-color room painting process. Whether you choose vertical stripes, horizontal stripes, or an accent wall, make sure the pattern aligns with the overall design vision for your room. For more on this, check out our article on color choices for your interior painting project.
Rule #4: Prep Your Room for Painting
Before you can embark on your two-color painting journey, it’s essential to properly prepare your room. This involves gathering the necessary tools and ensuring that your walls and furniture are ready for the transformation.
Essential Tools for a Two-Color Paint Job
Before diving into your paint pots, make sure you’re equipped with the right tools. Here’s a handy list of essentials you’ll need for a two-color paint job:
- Paint: Of course, you’ll need your two chosen colors of paint. Make sure you have enough to cover your walls with the desired number of coats.
- Paintbrushes: You’ll need brushes of varying sizes for different areas of the room – larger ones for broad strokes and smaller ones for details and edges.
- Paint rollers: These are great for covering large areas quickly. A roller tray will also come in handy.
- Painter’s tape: This is essential for marking off areas and ensuring clean lines between your two colors.
- Drop cloths: To protect your floor and furniture from paint splatters.
- Ladder: A sturdy ladder will help you reach higher areas with ease.
- Sandpaper: This is useful for smoothing out any rough patches on your walls before painting.
- Primer: A good primer can help your paint adhere better and last longer.
Having these tools at your disposal will make your painting process smoother and more efficient.
Prepping Walls and Protecting Furniture
Prepping your walls is a crucial step in the painting process. Start by removing any nails or hooks and cleaning the walls to remove any dust or grime. If there are any cracks or holes, fill them in with a suitable filler and sand the area smooth once it’s dry. If your walls are particularly stained or you’re making a dramatic color change, you might want to apply a coat of primer.
Next, protect your furniture and flooring. Move furniture away from the walls or out of the room if possible. Cover any remaining furniture and the floor with drop cloths to protect them from paint splatters.
Apply painter’s tape along baseboards, trim, and any other areas you don’t want to be painted. This helps ensure clean lines and saves you time on touch-ups later on.
Remember, preparation is key to a successful two-color room painting project. It might seem like a lot of work, but it’s worth it for the end result. For more tips on prepping your home for an exterior painting project, check out our 5 steps to prepare your home for exterior painting article.
Rule #5: Apply Your Paint With Care
The final rule in our ‘5 rules of painting a room with two colors’ is all about the application process. Even the best color choices and patterns can go awry without proper paint application. So, let’s walk you through the process.
Starting With the Lighter Color
We always recommend starting with the lighter of your two chosen colors. The reason is simple – it’s easier to cover a lighter color with a darker one than vice versa. For instance, if you’re working with a soft cream and a bold navy, you’d want to apply the cream first.
Once you’ve applied the first coat of your lighter color, allow it to dry completely. Depending on the paint type and the conditions in your room, this could take a few hours. Patience is key here. Rushing to apply the second color before the first is fully dry can result in blending, streaking, or uneven color.
Adding the Second Color
After the lighter color has dried, it’s time to introduce the second color. Using a fresh roller or brush, apply the darker color according to your predetermined pattern. Whether you’re creating stripes or painting an accent wall, make sure to apply the paint evenly for consistent color.
Remember, the second color is often the one that makes the biggest impact. It’s what will grab people’s attention when they walk into the room, so take your time to ensure it looks just right.
Ensuring Clean Lines and Edges
Clean, sharp lines can make the difference between a professional-looking paint job and a DIY project gone wrong. There are a few ways to ensure your lines are neat and tidy:
- Use Painter’s Tape: Apply painter’s tape along the edges where the two colors meet. Press it down firmly to prevent paint from seeping under the tape. Once the paint is dry, carefully remove the tape to reveal clean lines.
- Use a Straight Edge: If you’re painting stripes or other patterns, a straight edge can help guide your brush or roller, ensuring straight lines.
- Take Your Time: Rushing will only lead to mistakes. Take your time, especially when painting near the edges of your room or around fixtures.
Applying paint with care is essential in two-color room painting. Paying attention to details and staying patient can transform a room and make your color choices pop. For more painting tips and tricks, check out our other articles on house painter contractor tips and advice.
Troubleshooting Common Challenges
Despite the best of efforts, painting can sometimes go awry. But don’t fret! We’re here to show you how to troubleshoot some common challenges you might face when applying our ‘5 rules of painting a room with two colors’.
Dealing with Uneven Lines
Even with careful taping and brushwork, uneven lines can appear. To fix this, the first step is to let the paint dry. Once dry, you can sand down the uneven area lightly using a fine-grit sandpaper. Afterward, you can repaint the area, taking care to follow the edge of the tape more closely this time. It may take a couple of attempts, but with patience, you’ll get those crisp, clean lines you’re after.
Managing Paint Drips
Drips occur when too much paint is applied to the wall at once. To avoid this, always remember to load your brush or roller with the right amount of paint. If drips still occur, gently remove the excess wet paint with a clean cloth. If the paint has already dried, you’ll need to sand the drip down before applying a new coat of paint.
If you’re having consistent issues with paint drips, you might want to consider hiring a professional house painter contractor. They’re equipped with the proper tools and skills to handle any painting job, big or small.
Touching Up Mistakes
Mistakes happen, and that’s okay! The key is to not panic and to know how to correct them. For small touch-ups, dipping a small artist’s brush into your paint can give you more control. If you’re dealing with larger mistakes, let the paint dry first. Then, you can sand the area and apply a new coat of paint. Make sure the new paint is thoroughly mixed so the color matches the rest of the wall.
Remember, practice makes perfect. The more you paint, the more comfortable you’ll become with the process. For more painting tips and tricks, don’t hesitate to check out our other articles like ‘tips to add accent colors into your home interior‘ and ‘interior painting & design: do’s and don’ts for small rooms‘. Happy painting!